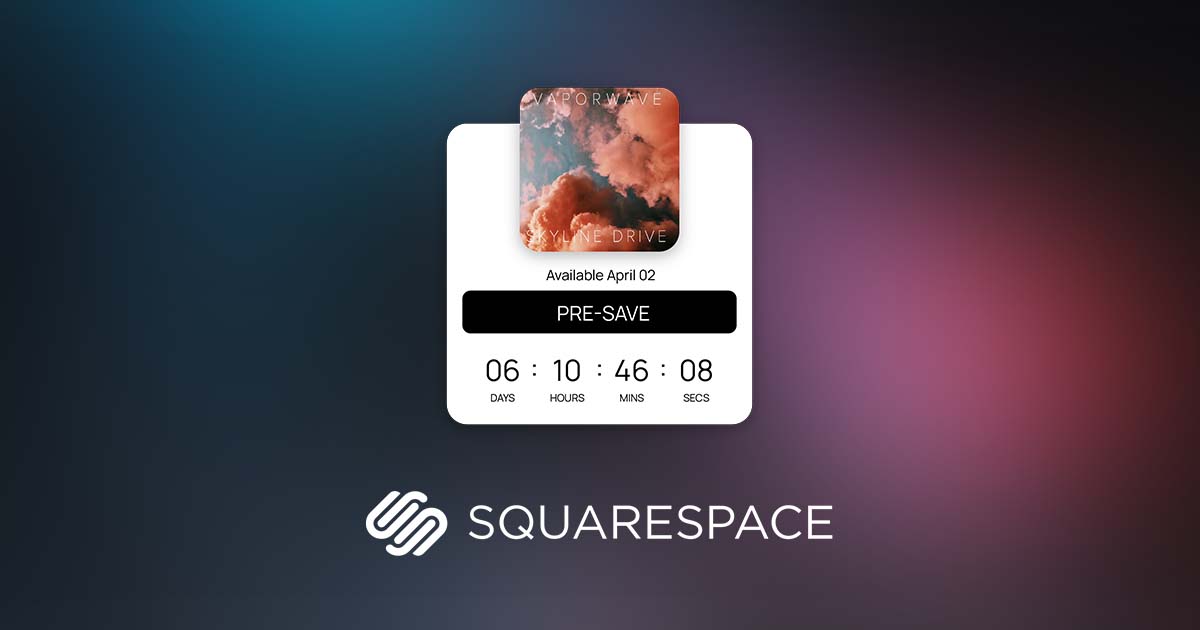
How to Add a Spotify Pre-Save to Your Squarespace Website
If you're an artist gearing up for a new release, you've probably heard of Spotify pre-saves — and if you haven’t, here’s the deal: pre-saves let fans “save” your music to their library before it drops. When release day hits, it’s already waiting for them. More saves = more listeners, and more listeners = better algorithmic boosts from Spotify.
But here’s the catch: most pre-save tools make fans leave your website and head to a different landing page. That’s where Sonikit comes in.
Why Sonikit Pre-Saves Are Different (and Better)
Sonikit’s pre-save tools are built to work with your site, not around it. You can embed your pre-save directly into your Squarespace page — no more sending fans away. Not only does it keep your site experience seamless, but it also lets you:
-
Collect valuable fan data like email addresses and phone numbers
-
Offer fans multiple streaming options (not just Spotify)
-
Enable "NextSave" — a one-click option for fans to pre-save all your future drops (Pro & Enterprise only)
Now let’s walk through how to set this up.
🎮 Step 1: Create Your Pre-Save Embed in Sonikit
Before touching Squarespace, let’s get your embed ready.
-
Log in to your Sonikit dashboard
-
Navigate to the "Embeds" section
-
Click "Create Embed"
-
Choose "Pre-save" as your action
-
Fill in your release details:
-
Add your release name
-
Set the release date and time
-
Choose between a global or local release time (so fans see the right time wherever they are)
-
-
Enable NextSave if you want (Pro/Enterprise plans)
-
Add your streaming platforms:
-
If your album link is live or scheduled, just paste it in and Sonikit will auto-fill details
-
If not, manually upload your art and select platforms like Spotify, Apple Music, Amazon Music, etc.
-
-
Click Save
- If you'd like to customize the design and layout of your embed, click the Gear icon on the top right corner of your new embed to adjust the embeds settings
-
When you're ready, click the Code icon next to your new embed and copy the embed code

🧱 Step 2: Add the Sonikit Embed to Your Squarespace Website
Now that you’ve got your embed code, it’s time to place it on your site. There are two parts to this process: adding the Sonikit SDK and placing the embed code where you want it to appear.
Part 1: Add the Sonikit SDK Script
The SDK is what powers the embed UI on your site. Here’s how to install it:
-
In Squarespace, go to Settings > Advanced > Code Injection
-
In the Footer section, paste the following script tag, replacing
[YOUR_PROJECT_ID]with your actual project ID from Sonikit:
<script src="https://js.sonikit.com/v1/embed.js?key=[YOUR_PROJECT_ID]" type="module"></script>-
Click Save to update your site
Part 2: Add the Embed Code to Your Page
-
Log in to Squarespace and open the page where you want the pre-save to appear
-
Click Edit on the page content
-
Click the “+” button to add a new content block
-
Select the “Code” block
-
Paste the Sonikit embed code you copied earlier (this will look like a simple
<div>with a unique ID) -
Make sure the “Display Source” option is unchecked
-
Click Apply to save the block
-
Save the page to publish your changes
That’s it — your pre-save is now live and embedded directly on your Squarespace site. Visitors can interact with it without leaving your page, which means higher engagement and better results. On release day, the embed will automatically update to indicate that the release is now available. Fans can click to save it directly to their streaming library.
🚀 Pro Tip: Place Your Pre-Save Where It Matters Most
We recommend placing your Sonikit embed:
-
Right on your homepage above the fold
-
In a dedicated “New Release” section
-
On a landing page linked from your social bios
Want to drive even more action? Pair it with a strong call to action like “Be the first to hear it” or “Pre-save now and get exclusive updates.”
📈Tracking & Results
Not only can the Sonikit pre-save be embedded directly into your website, but it also automatically tracks detailed analytics about your fan engagement. Visit your Sonikit dashboard to see how many pre-saves your embed has generated, which services fans used, and detailed fan demographics.

Ready to go?
Sonikit makes it easy to turn traffic into fans and fans into superfans. If you're not already using Sonikit for your marketing, now’s a great time to give it a try. Set up a free trial to test out different pre-save options to see if it's a good fit for your next release.

Keep reading
All posts
Owned Audience vs Rented Audience: The Marketing Concept Every Artist Should Understand

How Artists Actually Build a Fanbase in 2026 (Beyond Streaming Algorithms)
